
Introduction
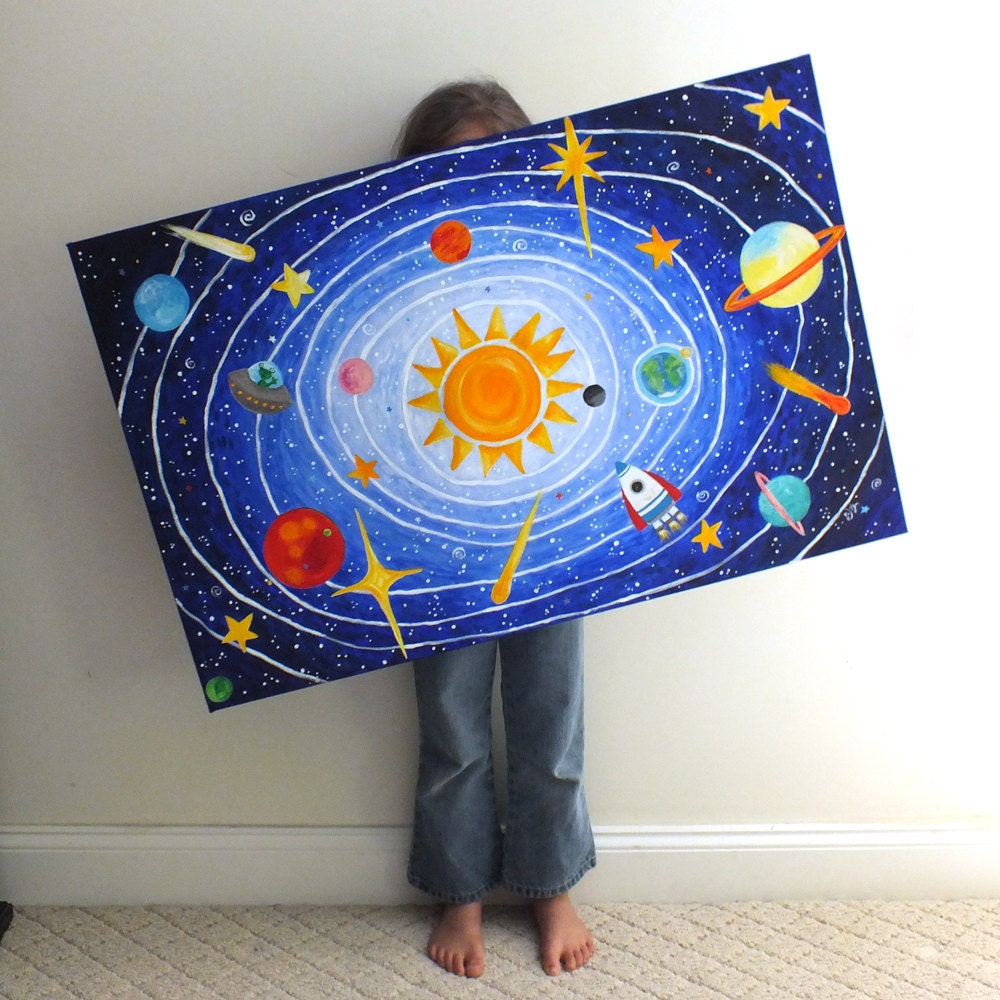
Solar System Paintings Have The Power To Transport Us Beyond The Confines Of Earth, Capturing The Beauty And Wonder Of The Cosmos On A Canvas. Whether You’re An Aspiring Artist Or Someone Seeking A Unique Home Decor Piece, Creating A Solar System Painting Can Be A Rewarding And Visually Stunning Project. In This Comprehensive Guide, We Will Walk You Through The Step-By-Step Process Of Bringing The Solar System To Life On Your Canvas.
Gathering Your Art Supplies: A Palette Of Possibilities
- Canvas Selection: Begin By Choosing A Canvas That Suits Your Desired Size. A Stretched Canvas Or Canvas Board Provides A Stable Surface For Your Artwork.
- Paints And Brushes: Acrylic Paints Are Ideal For This Project Due To Their Vibrant Colors And Quick Drying Time. Select A Variety Of Brush Sizes To Achieve Both Broad Strokes And Fine Details.
- Palette And Mixing Medium: Use A Palette To Mix And Blend Your Colors. A Mixing Medium Can Help Achieve Smoother Transitions Between Hues.
Setting The Cosmic Stage: Background Preparation
- Base Coat Application: Apply A Base Coat To Your Canvas Using A Dark, Cosmic Color Like Deep Blue Or Black. This Will Serve As The Backdrop For Your Solar System.
- Galactic Texture: Create A Galactic Texture By Lightly Sponging Or Splattering White Or Silver Paint Onto The Background. This Adds A Celestial Dimension To Your Canvas.
Celestial Bodies: Painting The Planets
- Sunrise On Mercury: Begin With The Closest Planet To The Sun. Mercury’s Surface Features Can Be Depicted With A Mix Of Reddish-Brown And Gray Tones. Create The Illusion Of Craters And Rugged Terrain.
- Venus: Shrouded In Mystery: Venus, Often Covered In Clouds, Can Be Represented With Swirling Shades Of Yellows And Oranges. Blend The Colors To Capture The Planet’s Mysterious And Hazy Atmosphere.
- Earth: Our Blue Oasis: Paint Earth With Its Iconic Blue Hues. Highlight Continents And Oceans, Paying Attention To Geographical Details.
- Mars: The Red Planet: Mars Is Characterized By Its Rusty Red Surface. Use Varying Shades Of Red And Brown, Incorporating Darker Tones To Simulate The Planet’s Distinctive Features.
- Jupiter’s Striking Bands: Jupiter’s Prominent Bands And The Great Red Spot Can Be Crafted With Swirling Patterns Of Orange, Brown, And White. Add Depth By Layering These Colors.
- Saturn’s Majestic Rings: Paint Saturn’s Rings Using Light Grays And Whites. Apply Several Layers To Achieve A Translucent Effect, Capturing The Ethereal Nature Of The Rings.
- Uranus And Neptune: Ice Giants: Represent Uranus And Neptune With Shades Of Light Blue And Turquoise. Blend These Colors To Create The Impression Of The Ice Giants’ Gaseous Atmospheres.
Moons And Satellites: A Cosmic Symphony
- Moonlit Shadows: Depict Earth’s Moon With Shades Of Gray. Use Varying Tones To Illustrate Craters And Lunar Landscapes. Consider Adding A Subtle Glow To Simulate Moonlight.
- Io’s Volcanic Landscape: If Including Jupiter’s Moon Io, Showcase Its Volcanic Surface With Fiery Reds, Yellows, And Oranges. Create Irregular Patterns To Mirror The Moon’s Geologic Activity.
- Enceladus’ Ice Geysers: For Saturn’s Moon Enceladus, Paint Icy Geysers With Shades Of White And Light Blue. Add A Sense Of Motion By Incorporating Streaks To Represent Erupting Plumes.
- Triton’s Frozen Terrain: If Featuring Neptune’s Moon Triton, Use Cool Blues And Whites To Convey Its Icy Surface. Enhance Realism By Adding Shadows And Highlights To Mimic The Play Of Light.
Connecting The Cosmic Dots: Stars And Constellations

- Starry Accents: Dot Your Canvas With Tiny, Twinkling Stars Using A Fine Brush Or Even The End Of A Paintbrush. Vary The Sizes And Intensities To Create A Realistic Starry Backdrop.
- Constellation Magic: If Desired, Incorporate Constellations Using A Light Hand. Choose Recognizable Patterns Like The Big Dipper Or Orion’s Belt. Connect The Stars With Delicate Lines.
Finishing Touches: Refining And Sealing Your Artwork
- Blending And Shading: Take A Step Back To Assess Your Solar System Painting. Use A Blending Brush To Smooth Transitions Between Colors And Refine Details. Adjust Shading And Highlights As Needed.
- Protective Sealant: Once Satisfied With Your Masterpiece, Apply A Clear Acrylic Sealant To Protect The Artwork. This Ensures Longevity And Preserves The Vibrancy Of The Colors.
Showcasing Your Stellar Creation: Display And Enjoy
- Choosing The Right Frame: Select A Frame That Complements Your Artwork And Enhances Its Visual Appeal. Consider A Simple, Sleek Frame To Keep The Focus On The Cosmic Masterpiece.
- Placement And Lighting: Display Your Solar System Painting In A Well-Lit Area To Accentuate The Details. Experiment With Different Lighting Angles To Create Shadows And Highlights On The Celestial Bodies.
Conclusion: A Celestial Journey On Canvas
Creating A Solar System Painting Is Not Just An Artistic Endeavor But A Cosmic Journey On Canvas. By Following These Step-By-Step Instructions, You Can Embark On A Creative Exploration, Bringing The Beauty Of The Solar System To Life. Your Finished Masterpiece Not Only Serves As A Testament To Your Artistic Prowess But Also As A Captivating Celestial Showcase That Invites Viewers To Gaze Into The Depths Of The Cosmos.