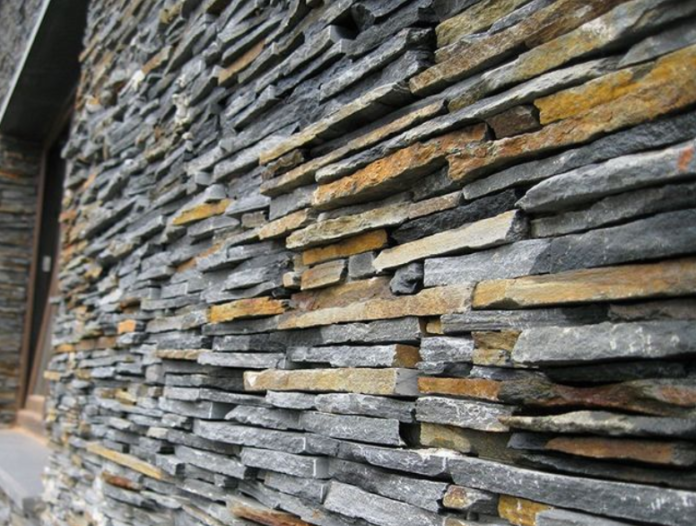
Installing stone panels is a craft that blends durability with design. These panels, made from natural or engineered stone, are used to enhance walls, facades, and other surfaces. They bring texture, strength, and style to a space. But for stone panels to last, they need to be installed the right way. It’s not just about sticking pieces to a wall. It’s about technique, structure, and precision. This article breaks down key installation techniques that help ensure your stone panel surfaces stay strong and look great over time.
Understanding Stone Panels as Surface Materials
Stone panels are thin, flat segments of stone used to cover walls or surfaces. They may be solid natural stone, composite stone, or engineered alternatives. The purpose is to provide the look and feel of stone without the bulk or structural demands of full-thickness blocks. These panels are popular in both residential and commercial settings because they offer a high-end finish with less weight.
Surface Preparation for Strong Bonding
Every great finish starts with a well-prepped surface. Before applying stone panels, you need to ensure the wall is clean, dry, and structurally sound. Even minor imperfections can affect adhesion. Dust, moisture, or flaking paint can weaken the bond between panel and surface.
Depending on the panel type, you might need a cement backer board, metal lath, or even a moisture barrier. For exterior surfaces, weather resistance is critical. The prep work might seem basic, but skipping steps here could lead to loose panels, cracking, or water damage later on.
Mechanical Fastening for Heavier Stone Panels
Some stone panels are too heavy for adhesives alone. That’s where mechanical fastening comes in. This technique uses brackets, anchors, or clips to secure each panel to the structure. The hardware may be hidden or exposed, depending on design preferences.
Mechanical systems allow for precise alignment and provide extra strength, especially in places with high wind loads or seismic activity. They also offer flexibility. If a panel needs to be replaced, it’s easier to remove and reinstall without damaging the surrounding area.
Thinset Mortar Techniques for Stone Panel Adhesion
For lighter or thinner stone panels, thinset mortar is often the go-to method. This cement-based adhesive offers a strong bond when applied correctly. The trick is using the right amount and ensuring even coverage.
The mortar must be applied with a notched trowel to create grooves that help the panel grip the wall. Pressing each panel firmly into place removes air pockets and secures it for the long haul. Depending on the climate and wall material, you might choose a modified thinset with added flexibility and water resistance.
Finishing Touches That Reinforce Stone Panel Installations
Details make all the difference. Corner pieces, edge trims, and transition strips are not just decorative. They protect exposed edges from chipping and moisture. Finishing pieces also provide a clean, professional look.
For exterior projects, flashing at the top of a panel system diverts rainwater. Caulking around windows or doors helps seal the installation against drafts. These small steps can have a big impact on the performance and appearance of your stone panels.
Conclusion
Stone panels add beauty and resilience to a space—but only if installed with care. From prepping the surface to sealing the finish, each step contributes to the strength and longevity of the final product. It’s not just about putting stone on a wall. It’s about understanding materials, respecting physics, and paying attention to detail.
