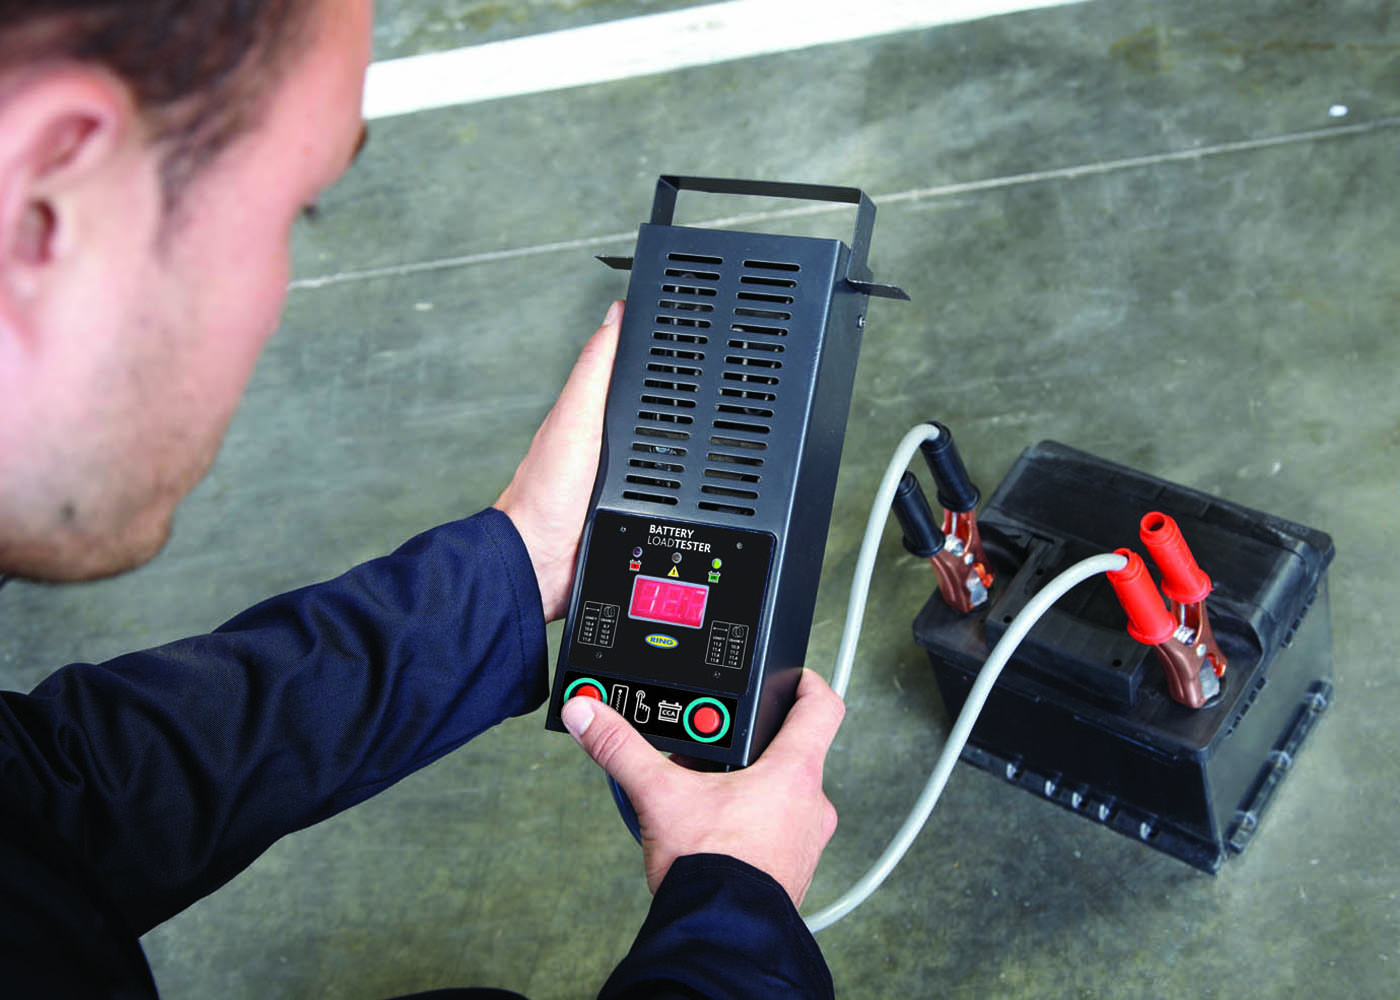
While your car’s battery may seem fine when the vehicle is just sitting, problems can often hide until you try to start the engine. According to the experts at Clore Automotive, a battery load tester is an essential tool for checking if your battery has enough cranking power to start your car reliably.
This handheld device puts an adjustable load on the battery to simulate the high current draw of the starter motor cranking. It measures the battery’s voltage drop under this heavy load to determine its true condition and cranking ability.
Using a load tester periodically allows you to catch a weak or failing battery before you end up stranded in a no-start situation.
When to Test
It’s a good idea to test your vehicle’s battery at least once per year, ideally when the seasons change, and temperature extremes put extra strain on batteries. Many auto parts stores offer free battery testing if you don’t have your own tester.
You’ll also want to load test the battery any time you experience slow starter cranking, electrical issues like dim lights, or your battery is over three years old.
Preparing for the Test
First, ensure your battery terminals are clean and free of corrosion or dirt that could affect the test connections. You will need to remove any protective covers or cases to expose the positive and negative terminals.
The battery should be fully charged before testing. If recently started, let the vehicle sit for at least a few hours to allow the battery to rest and regain full charge from the alternator.
Connect the Load Tester
The tester has two metal jaw clamps with red and black handles that connect directly to the battery terminals. Always connect the red clamp to the positive (+) terminal first.
Then connect the black clamp to the negative (-) terminal. Some people advise connecting it to the vehicle body or engine block ground if the battery is difficult to access directly.
Most battery load testers have an adjustment dial or switch to select the appropriate load rating for your vehicle’s battery size and type. Consult your owner’s manual or the tester instructions for the proper load setting.
Run the Load Test
With both clamps securely connected, turn on or press start on the load tester. This will place the preset load on the battery while measuring the voltage.
The tester will display the actual loaded battery voltage, which you then compare to the minimum acceptable voltage listed on the tester itself or on the battery label.
For example, if the tester shows 9.6 volts under load and your battery specifies a minimum of 9.5 volts, it passes the test as still being in good cranking condition. Anything below the minimum means the battery is too weak to reliably start the vehicle.
Most load testers run for about 10-15 seconds before automatically shutting off the test load. Be prepared for the engine lights and electrical accessories to momentarily dim during this period as the tester simulates starter load.
Follow Safety Precautions
Always wear safety glasses and gloves when working around batteries. The acid electrolyte inside is extremely corrosive, so avoid contact with it. Work in a well-ventilated area as batteries can release explosive hydrogen gas.
Disconnect the load tester clamps in the reverse order after testing, negative (-) first. This prevents any short circuits or arcing that could cause injury or damage to components.
Conclusion
Using a battery load tester takes the guesswork out of your battery’s condition. With this simple diagnostic tool, you can know for certain if it’s time to replace your battery before you risk getting stranded.
